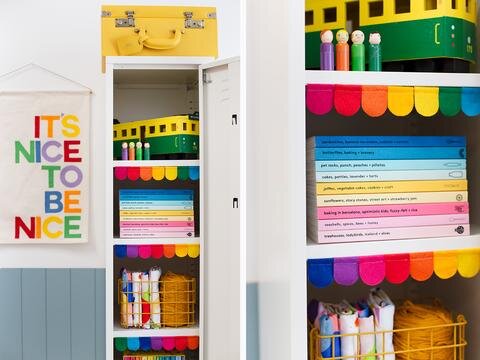
This has got to be our most fun DIY to date - bring the carnival inside by making your own felt bunting to jazz up the inside of your locker!
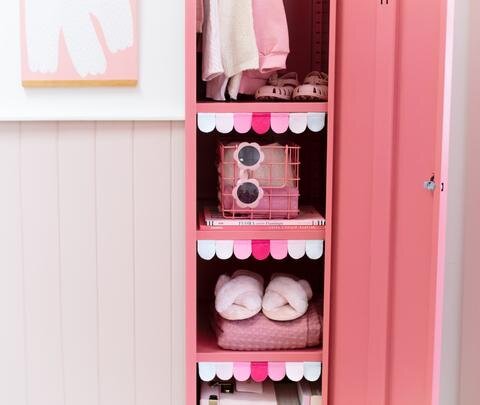
Follow our step-by-step instructions below to make this cute + colourful decoration - have fun picking colours to match your locker or go the full rainbow!
What you need
Download the bunting template
Felt
Marker pens/felt tips
Material scissors
Ruler
Pins
Sewing machine
Large eye needle needle
Twine or thread 80cm
Step by Step

1. Print out your downloaded template on A4 paper + cut out all of the elements.

2.Trace around the template on the felt using a marker or felt tip pen in a similar colour to your chosen piece of felt. Tip - put the flat side of the template on the edge of the felt for a nice straight line.

3. Cut around the bunting shapes using your scissors.
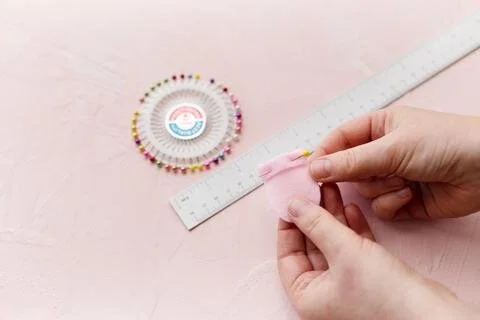
4. Fold down the straight edge by 1cm and secure with a pin.

5. Sew the folded edge down as close as practical to the edge. Make sure you have enough of a 'loop' at the top to be able to thread your twine through at the end!(You can totally stitch it by hand if you don't have a sewing machine!)

6. After you have sewn up 7 bunting tabs, use your large eye needle to thread the string through the pocket at the top of your tabs.

7. Then thread the string though the little lip under the front of the shelf and tie together at the back. Tuck in the string so you can't see it + pop the shelf back in the locker. How cute does that look!!?